poniedziałek, 21 grudnia 2015

Christmas Shadow Box


Happy Monday my friends! Aisha here to share this Christmas shadow box using some fabulous Creative Embellishments Chipboard pieces! I made it for my Grandmother she lives far away so I made a gift for her. I hope that she will like it ;) This is my first Christmas shadow box , and Im happy with the results. This awesome shadow box is from Retro Kraft Shop and I just love it .


I paint box with white gesso . Next I added crackle paste and using my finger I spread the glitter snow .I used  snowflakes  and snowflake page corner  that I covered  with gesso then painted over it with glitter paint and glitter snow.


I just love Creative Embellishments snowflake borders they are so detailed and beautiful. I covered them with white gesso and added some glitter to make them sparkle.


My chipboard title from the Snow word set was colored with white gesso and mica powder gold, 13 arts paint old gold. I also added some glitter snow on the top.


I altered lamp from lamp post set  with white gesso , crackle paste and mica powder gold , distress ink vintage photo.


Wishing you peace, joy, and all the best this wonderful holiday has to offer. May this incredible time of giving and spending time with family bring you joy that lasts throughout the year.
I hope I have inspired you to create a Christmas shadow box;) There are so many Christmas and winter items in the shop.  Thanks for stopping by!


I'd like to join in to some awesome challenges:


123scrapuj TY -ŚWIĄTECZNE BINGO
wybrałam linię tekturka, ćwiek , snieżynka

Crafty cardmakers- snow


środa, 9 grudnia 2015

DO YOU BELIEVE IN ANGELS?

,,There are Angels all around us  we just have to learn to feel their Wings ''


 Hello Aisha with you today ! . I want to show you frosty ,snowy canvas with winter Angel . Creative Embellishments has so many awesome winter chipboards that I can used in my project. This canvas is a gift for my friend she loves Angels I hope she like it:)


 First on my background I used snowflakes stencil . Also I add some crackle white paste and white glitter.Then I start to added all embelishments flowers, metal pieces, chippies and my favorite prima angels  .I alter my snowflakes with white gesso and white glitter . Beautiful flourish and moroccan panel  I paint with white gesso and add some crackle paste.
To add more texture I used gauze and micro glass beads. All my embellishments I paint with white gesso and start to spray colours . I used mica powder blue , pearl silver and old silver paint . On flowers I added some silver glitter. The final step was to add a little magic to the whole image. I used mica powder blue opal magic I added on the wings of an angel and around  to make it looks like glow.


All beautiful chippies are  available in the Creative Embellishments Store as well as hundreds of other amazing items. Thanks for stopping by! XOXOX Aisha

Im entering following challenges;
                                                           wyzwanie #12 studio75


kolorowy jarmark -wyzwanie z brokatem


wtorek, 1 grudnia 2015

WINTER STORY -Creative Embellishments Challenge

Hello everyone!I was in love with this Creative Embellishments challenge as soon as I saw it!I was inspired by the colours , snow and winter scenery .I decide to create snowy winter picture. I used modeling paste and snowflakes stencil to add some snowflakes to my project. I painted large branch with white paint and glitter snow paste . On the winter  birds I gave some white gesso and white glitter to look more snowy. In the corner I added beautiful flourish and clock I also painted them with white paint. My next step was to added all embellishments and white reindeer in the middle .Then I start to add colours I used mica powders blue and blue opal magic . I hope you all play along with this month challenge!


piątek, 20 listopada 2015

MAGIC

“And above all, watch with glittering eyes the whole world around you because the greatest secrets are always hidden in the most unlikely places. Those who don't believe in magic will never find it.”
                                                                    -Roald Dahl-


Hi my friends !I am delighted to be back with my new project for Creative Embellishments . Today I would love to show you my Magic Canvas . I want to create exotic magic garden with lots of flourish and flowers.
 Witam wszystkich serdecznie ! Chciałabym wam pokazać dzisiaj  mój nowy projekt -Magiczny Blejtram. Chciałam stworzyć magiczny , egzotyczny ogród z dużą ilością kwiatów.


I start by covering canvas with black gesso. I have added some modelling paste through the flourish stencil. After drying I applied a thick layer of crackle paste in the corner . I embossed  flourish chipboards with black embossing powder . My next step was to add all different embellishments . Some metal and paper flowers , lovley rose from skull flair set  , metal clock parts  and beautiful lizard .
Zaczęłam od nałożenia czarnego gesso na blejtram. Następnie używając kwiatowej maski i pasty strukturalnej stworzyłam dodatkowe kwiatowe elementy.Na tekturki pnączy nałożyłam czarny puder do embossingu .Używając gel medium zaczęłam przyklejać wszystkie dodatki.Papierowe i metalowe kwiatki , części zegarków ,  guzik z różą, oraz przepiękną jaszczurkę .


The hot hexagon panel  was painted with Black Gesso and gold , blue mica powders.To create more texture I immediately sprinkled  some Micro Beads . I covering everything with black gesso .Then I begin to spray  everything  with mica powders and water .  Dry with a heat tool in between sprays.
Kolejne tekturki pomalowałam czarnym gesso i nałożyłam mikę w pudrze w kolorze niebieskim i złotym.Aby dodać więcej faktury dorzuciłam mikrokuleczki oraz gazę . W ostatnim etapie na wszystkie elementy nałożyłam czarne gesso , a następnie zaczęłam nakładać kolory . Do pustych atomizerów wsypałam mikę w proszku( blue , gold, purple) i dolałam wody . Powstały piękne mgiełki , które po nałożeniu na czarne gesso stworzyły metaliczny efekt.


I also did cabochon with some glitter and mysterious girl from Nicoletta Ceccoli painting.
Stworzyłam także kaboszon z dodatkiem brokatu oraz zdjęciem tajemniczej dziewczynki z obrazu Nicoletty Ceccoli.


So that’s it! Hope you like it and see you soon for another  project with the fabulous Creative Embellishements products!
To już wszystko!Mam nadzieję ,że spodobał wam się mój projekt z dodatkiem cudownych tekturek od  Creative Embellishments .

I'd like to join in to some awesome challenges:

November Challenge #36 - Believe in magic


MMW#9: ANYTHING GOES

Wyzwanie diabelskie z 'od A do Zet'

czwartek, 12 listopada 2015

Travel - CSI #181

Hi everyone! This month Creative Embellishments are sponsors and guests at CSI Challenge Site.  I played along with case file 181. This is my first journaling  but I have lots of  fun to create this page.
 .   


EVIDENCE  :metal , stamps, transportation ,gears/cogs, clock/watch parts .
TESTIMONY: document a trip or outing , handwrite on your background.
I love traveling to explore new places , discovering new cultures and meet interesting people.


For my page I used awesome Steampunk Gear Clocks I painted them with Distress ink ( vintage photo) and StazOn (Jet black). I embossed  Moments Words Set with Wow embossing powder green and primary ebony . I love gears from CE I colorized them also with StazOn -jet black.

 And some close -ups:


Thank you so much for stopping by Creative Embellishments blog today – please don’t forget to check out and enter the fun November Challenge  for an opportunity to win a fantastic $50 gift certificate to the store!
Have a lovely day!! Asia Lubera
 
Product used;
gear set large


asia_framed


niedziela, 1 listopada 2015

Autumn Secret Garden - Creative Embellishments Challenge

Hi crafty friends! This is my take on the November Challenge in Creative Embellishments . I was inspired by the leaves, flowers , and beautiful Autumn colours -brown , orange ,gold. For the twist I used lovley pumpkin corners. .I want to create Autumn Secret Garden . First I masked some bricks onto my papier  and using brown ink I stamped some words. Then I added some cut pieces of papier and also I’ve cut the moroccan lattice panel  in pieces to add texture behind my picture. . I add mysterious keys   and painted them with Distress Ink - tea dye and vintage photo . I start to sprays some colours :brown , orange , red, yellow and gold;) I cant wait to see what everyone creates for this super fun challenge !!!

 
Witam wszystkich serdecznie !Dzisiaj chciałabym się z wami podzielić moim nowym projektem stworzonym jako inspiracja  na listopadowe wyzwanie w Creative Embellishments . Moją inspiracją z obrazka były liście , kwiaty , i piękne jesienne kolory - brązowy,pomarańczowy , żółty i złoty. Patrząc na obrazek myślę o pięknej złotej jesieni nostalgicznej i kolorowej . Jest to moja ulubiona pora roku dlatego też stworzyłam jesienny tajemniczy ogród. Rozpoczęłam od stworzenia muru w tle użyłam maskę oraz pastę strukturalną . Następnie użyłam brązowy tusz i odbiłam stemplem słowa . Po kolei zaczęłam dodawać kawałki papieru aby stworzyć warstwowy efekt. Dodałam klucze , kwiaty, metalowe dodatki. Na końcu dodałam jesienne kolory mgiełki: brąz , czerwień , pomarańczowy ,złoty i odrobinę żółtego. Już nie mogę się doczekać ,aż zobaczę piękne jesienne projekty , które stworzycie na listopadowe wyzwanie dla Creative Embellishments.


piątek, 23 października 2015

DREAMS


                                                                 ,,  DREAMS ''
                                                             Hold fast to dreams
                                                             For if dreams die
                                                             Life is a broken -winged bird
                                                             That cannot fly ...

                                                            - Langston Huges-

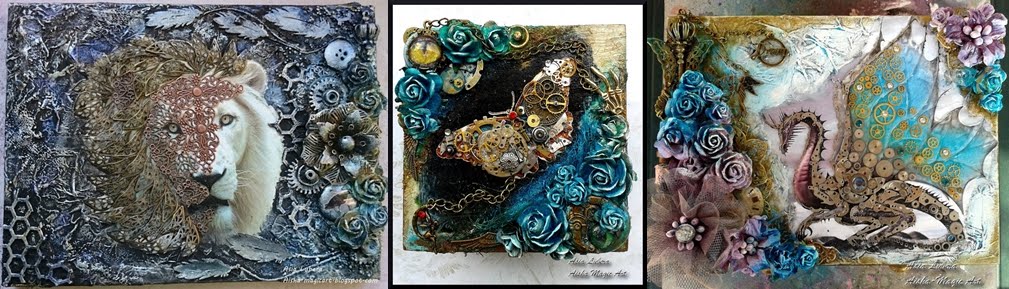
 Hello my  friends ;) Im back to you with my new layout ,,Dreams'' create  for Creative Embellishments.  For this layout I used Nicolleta Ceccoli painting ,,Flora '' .I love her art she mixed  delicate colour palette , doll faces and dark undertones . When I look on this painting I always think about dreams . I want to do 
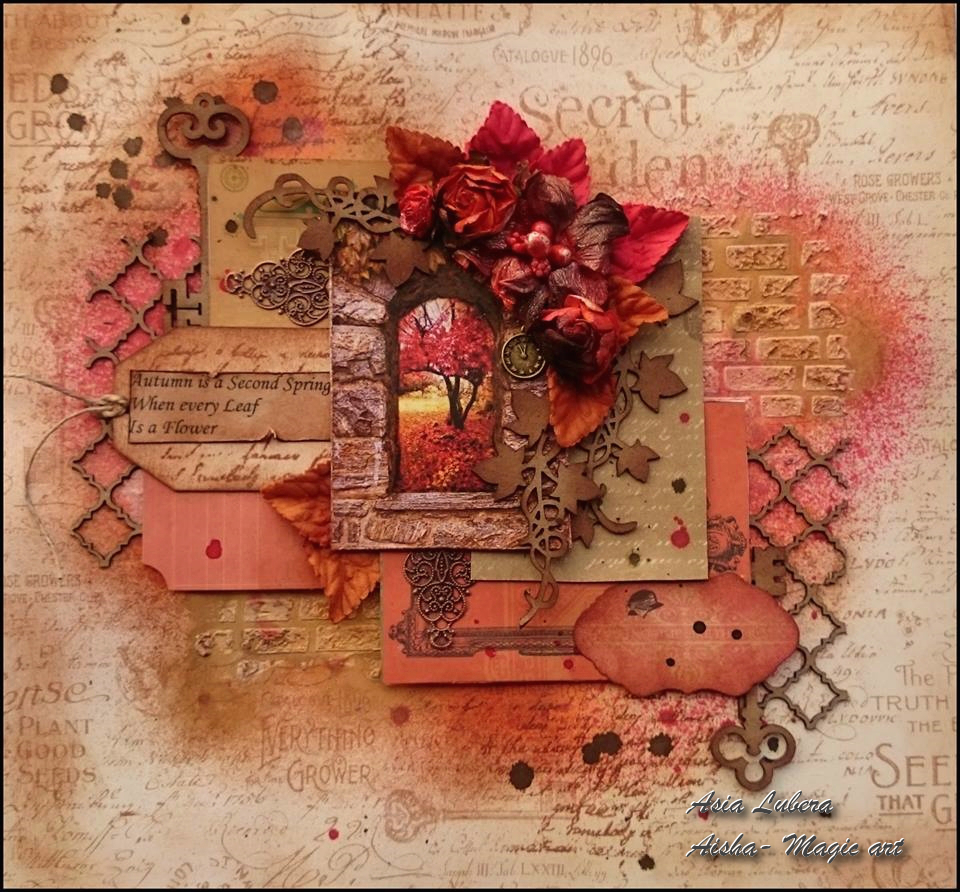
background to look like magical , dreamy scenery . I started my background whit a thin coat of white heavy gesso . Then I used modeling paste and flourish stencil to add some more texture . Next I start to added different sizes of cut squares of papier and chipboards squares . I start to painted background with sprays . I used dylusions ink ground coffee , 13 arts : pearl olive green  , pastel pink , pastel berry and pearl violet .

Cześć !Dzisiaj chciałabym Wam pokazać mój nowy layout ,,Dreams'' dla Creative Embellishments. Inspiracją dla mnie był przepiękny obraz Nicollety Ceccoli ,,Flora''. Uwielbiam jej twórczość w swoich obrazach łączy delikatne kolory , dziecięce twarze oraz mroczne drugie dno. Obraz ten kojarzy mi się ze snami i marzeniami , dlatego też chciałam stworzyć magiczną, marzycielska scenerię . Rozpoczęłam od nałożenia cienkiej  warstwę białego gesso . Następnie użyłam pastę strukturalną i nałożyłam przez maskę tworząc kwiatowe wzory. Chciałam żeby efekt był  prosty-geometryczny, dlatego użyłam tylko papierowych i tekturkowych kwadratów. Do stworzenia tła użyłam mgiełek : dylusions ink ground coffe oraz 13 arts: pearl olive green ,pastel pink,pastel berry i pearl violet.

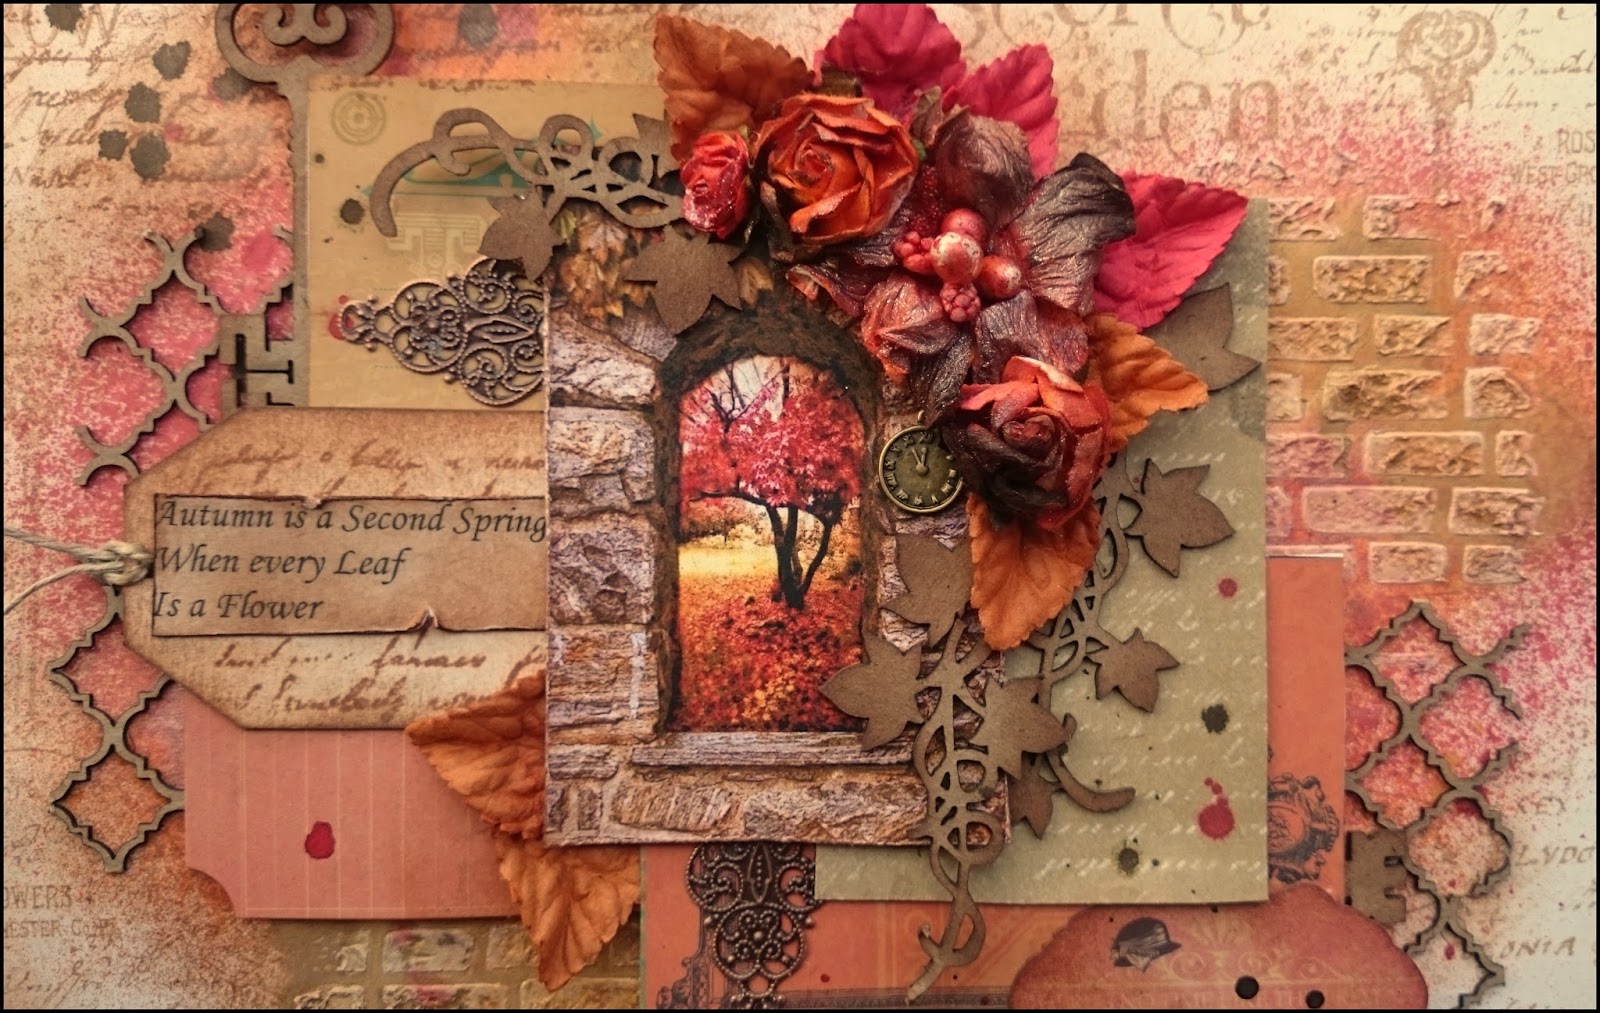
 I love the brown colour of the chipboards so I didnt paint them . I just add  some pink colour on flourish , and crackle accents  on title  Dream .

Uwielbiam brązowy vintage kolor tekturek dlatego też nie pokryłam ich farbami . Nałożyłam tylko odrobinę różu na kwiatki oraz medium pękające na napis Dream.

 On my layout I also used Creative Embellishments Distressed Crackle Stamp. You can see it in my background here. Love this   stamps check them out in the store.
Tworząć tło użyłam także cudny stempel Distressed Crackle Stamp imitujący popękane powierzchnie .


I hope you like this layout as much as I do! Thanks for stopping by!! Dont forget to participate in the Monthly Challenges found here on the Creative Embellishments Blog!
   

Pracę zgłaszam na wyzwanie :

Retro Kraft Shop Wyzwanie / Challenge: Retromania 13

piątek, 9 października 2015

Halloween Canvas


,,Everyday is a Halloween , isnt it?
For some of us ...''  -Tim Burton

Hi all  !!I hope your having a crafty weekend.Today Im sharing a Halloween canvas ,I was inspired by this beautiful skull flourish corner from Creative Embellishments.I love dark colours ,but in this canvas I used different colour palette. I hope that you like it;) I started with covering my canvas with gesso. Make the background first by using wall stencil and modeling paste. To make more texture I added diffrent sizes of cut strips of paper. Then start to make the composition. I used gel medium as an adhesive for all my metal and papers embellishments. I added combination of  paper flowers , metal elements and chipboards. There are hidden some Halloween elements :button with owl , cabochon with black cat , metal skull , mysterious bottle and  spooky raven ;) In the corner I added some metal flowers , beautiful flourish and my favorite cabochon with green little Princess.The best part is when I start adding colour. I have used lots of colours .First in the middle I spray some mists: daffodil ,candy apple red (Tattered angels ) and pearl orange (13 arts). I dry them with the heating tool . Then I start  to spray dark colours : pearl violet , pearl black (13 arts ) and black marble ,slate grey( dylusions ).I dried the project completely. Last step was adding some highlights with a bit of mica powder and inka gold . I was adding some highlights on flourish , skull flourish corner and raven ( mica powder purple , inka gold oldsilver ).

Witam wszystkich ! Dzisiaj chciałabym pokazać wam mój Halloweenowy blejtram. Zainspirowała mnie  piękna czaszka z elementami kwiatowymi od Creative Embellishments. Uwielbiam ciemne kolory , ale zdecydowałam się użyć  też odmiennej palety kolorów . Mam nadzieję ,że się wam spodoba. Na początku pokryłam płótno białym gessem . Następnie użyłam pastę modelująca, którą nałożyłam przez maskę tworząc tło imitujące stary mur. Aby dodać więcej warstw , nakleiłam różnej długości kawałki tektury .Kolejnym  etapem było układanie całej kompozycji. Użyłam gel medium aby przykleić metalowe i papierowe elementy. Połączyłam papierowe kwiaty ,metalowe elementy oraz tekturki . W całej kompozycji ukryły się elementy Halloweenowe : guzik z sową ,kaboszon z czarnym kotem, metalowa czaszka , tajemnicze buteleczki oraz upiorny kruk.;) Dodałam także gazę aby dodać płynności całemu projektowi . W górnym rogu stworzyłam kompozycję z metalowych kwiatów na szczycie , których znalazła się moja ulubiona zielona mała Księżniczka. Moim ulubionym momentem jest dodawanie i mieszanie kolorów . Na środku dodałam mgiełki : daffodil ,candy apple red (Tattered angels ) and pearl orange (13 arts). Wysuszyłam je przy użyciu nagrzewnicy. Następnie zaczęłam dodawać moje ulubione ciemne kolory : pearl violet , pearl black (13 arts ) and black marble ,slate grey( dylusions ). Ostatnim krokiem było dodanie odrobiny blasku przy użyciu miki w proszku oraz inki gold . Zaakcentowałam cudowną kwiatową czaszkę , wijące się rośliny oraz kruka .


Here’s some close ups :


I hope you enjoyed today’s post! xoxo Asia

I'd like to join in to some awesome challenges:

The Craft Place - Anything Goes Mix media - I've used paint, gesso , mists ink sprays and stencilling


 Quoth the raven color combo